+
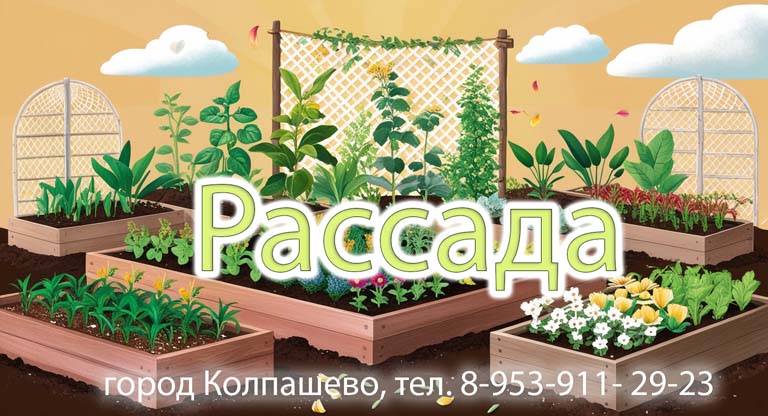
Россия, Томская область, город Колпашево, переулок коммунальный 5
8-953-911-29-23
Колпашево
Коммунальный переулок, 5 — Яндекс Карты
✖
Поиск
☰
Редактировать
Удалить
меню : 1258
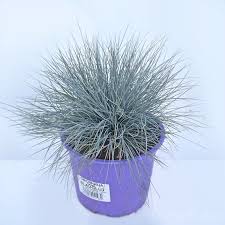
2
Овсяница Сизая Блю.
☰
Редактировать
Удалить
меню : 1257
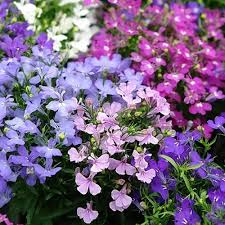
3
Лобелия ( красная, белая, синяя, лиловая, синяя с белой серединкой, розовая).
☰
Редактировать
Удалить
меню : 1256
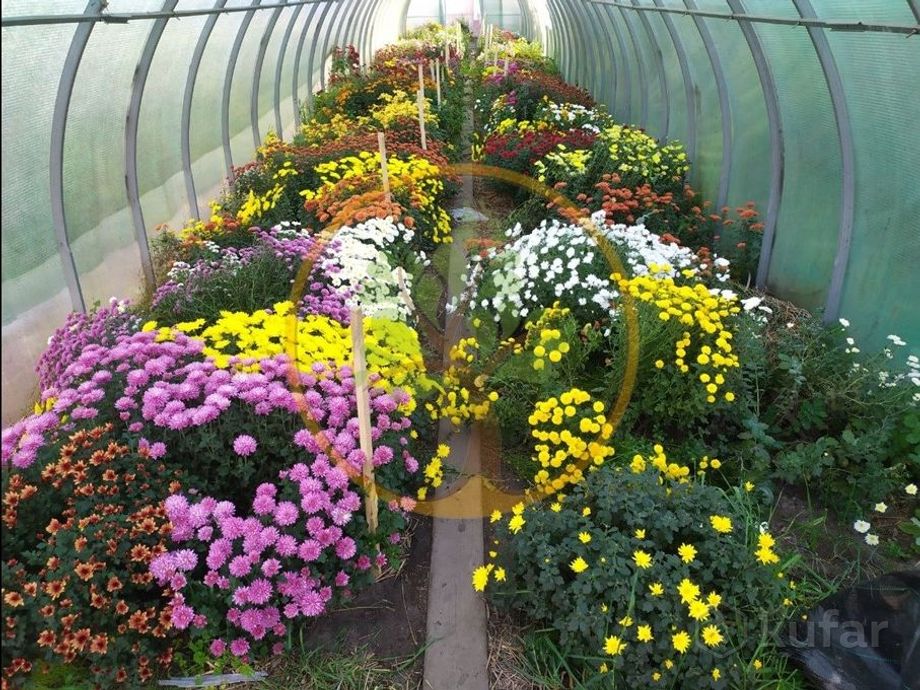
1
Ук.черенок хризантемы мультифлора ( лосось)
☰
Редактировать
Удалить
меню : 1255
2
Лилии
☰
Редактировать
Удалить
меню : 1254
3
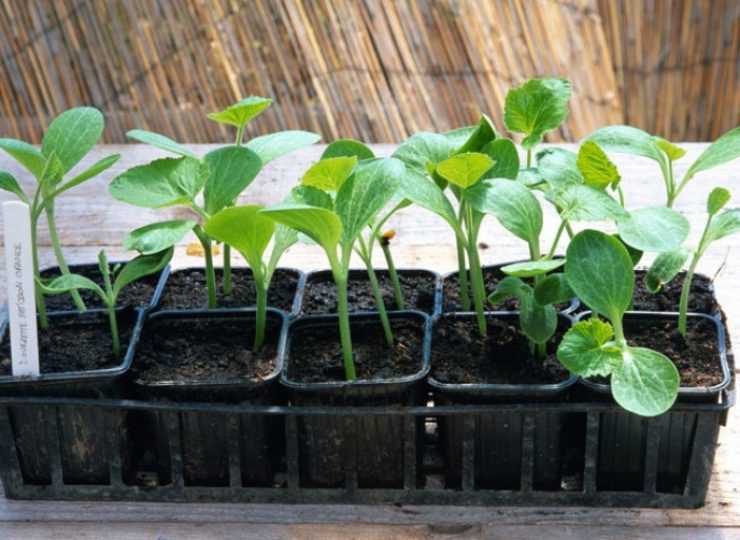
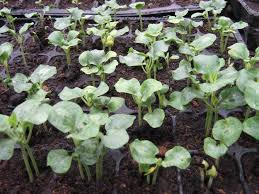
Кабачки
☰
Редактировать
Удалить
меню : 1253
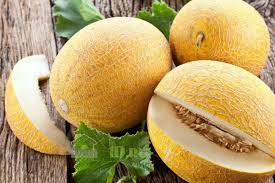
2
Дыни
☰
Редактировать
Удалить
меню : 1252
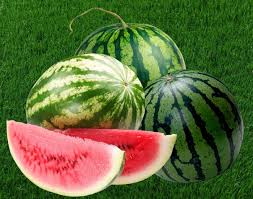
2
Арбузы
☰
Редактировать
Удалить
меню : 1251
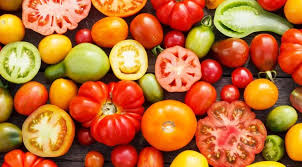
2
Помидоры
☰
Редактировать
Удалить
меню : 1250
2
Подсолнухи
☰
Редактировать
Удалить
меню : 1249
2
Кукуруза
☰
Редактировать
Удалить
меню : 1248
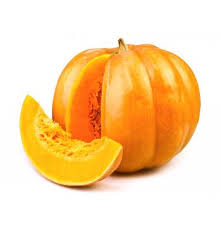
2
Тыква
☰
Редактировать
Удалить
меню : 1247
2
От 20 рублей
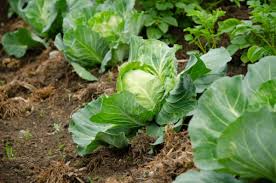
Капуста сорта: (скороспелка , подарок , въюга ,купчиха, каменная голова, ринда, московская, пекинская)
☰
Редактировать
Удалить
меню : 585
4
Патиссоны
☰
Редактировать
Удалить
меню : 429
2
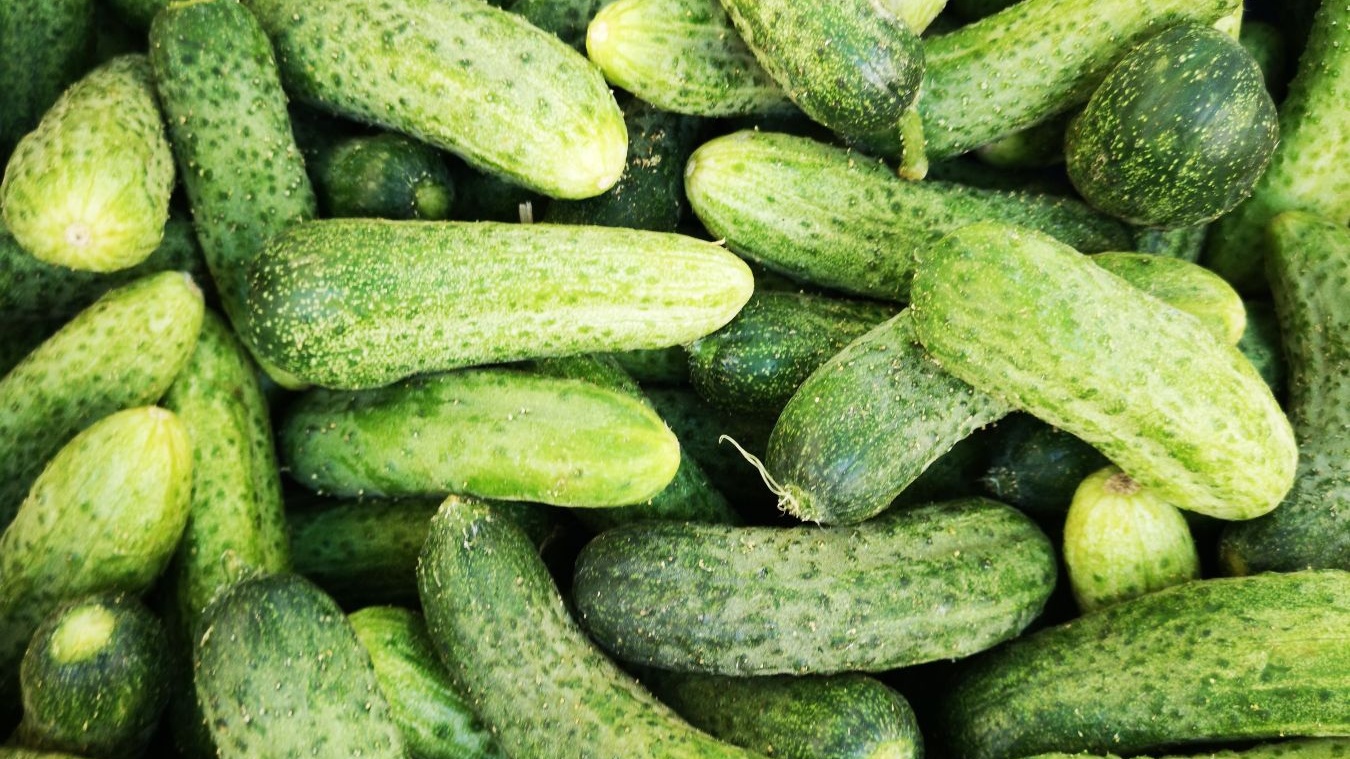
Огурцы
☰
Редактировать
Удалить
меню : 427
2
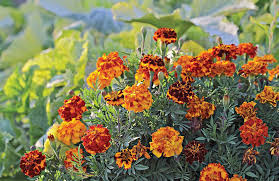
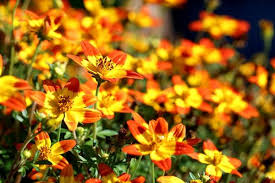
Бархатцы
☰
Редактировать
Удалить
меню : 426
2
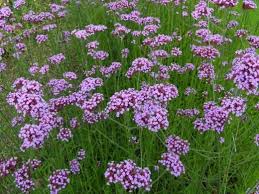
Вербена
☰
Редактировать
Удалить
меню : 415
2
Биденс
☰
Редактировать
Удалить
меню : 408
2
Диасция
☰
Редактировать
Удалить
меню : 407
2
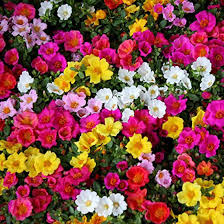
Портулак
☰
Редактировать
Удалить
меню : 406
2
Эустома
☰
Редактировать
Удалить
меню : 400
2
Тунбергия
☰
Редактировать
Удалить
меню : 394
2
Калибрахоа
☰
Редактировать
Удалить
меню : 393
2
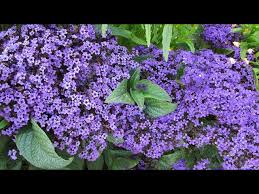
Гелиотроп
☰
Редактировать
Удалить
меню : 388
2
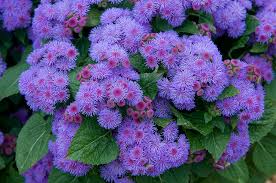
Агератум
☰
Редактировать
Удалить
меню : 376
2
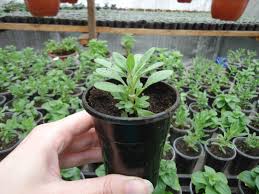
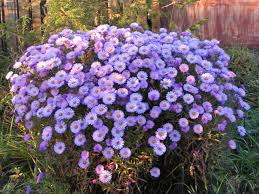
Астры
✕